Rolling Storage
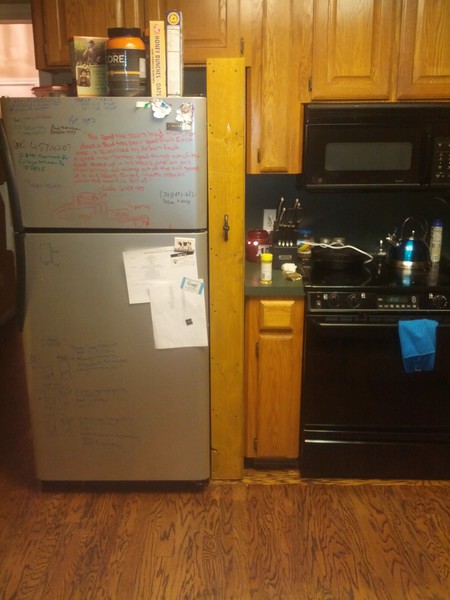
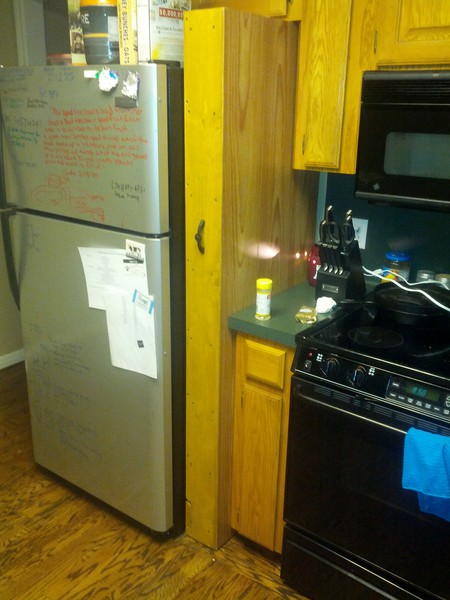
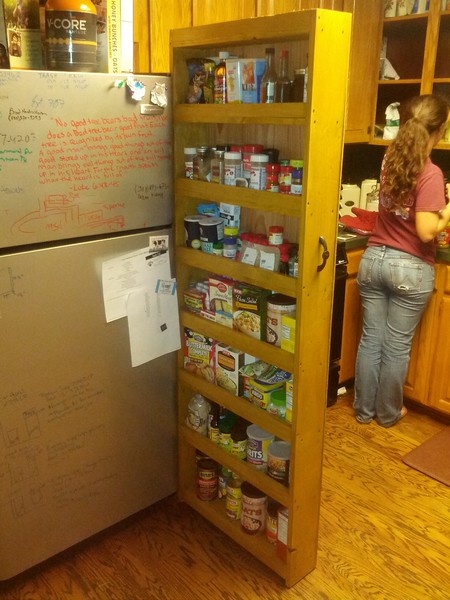 Hanah and I built a Roll-Out Pantry beside our fridge due to the limited cabinet space in our kitchen. It looks good and works extremely well.
Parts:
Tools:
- Handsaw
- Chisel
- Screw Driver
- Hammer
- Drill bits
- Square
Procedure:
- Measure the space decide whether you have room for 1x4's or 1x6's
- Decide the lengths the boards need to be cut. Don't forget to account for the casters like I did. Also consider the width of the board. We wanted ours to be 2 feet wide; therefore, the shelves needed to be cut to 22.5 inches. I moved the bottom shelf up so the casters would not be visible, but this is just ascetics.
- Cut your boards with the handsaw.
- Pre-Drill every screw with two drill bits the first should let the screw grab. It is to prevent splitting the wood. The second should let the screw slip through to the head without catching. This is so the screw can pull the wood together tight to prevent gaps.
- Screw the boards together. I screwed the strong backs to the shelves then screwed the shelves into the frame
- Install casters
- Stain the boards
- Cut the masonite. This can be accomplished with a handsaw, but power tools make life nice.
- Nail the masonite to the back
- Load Cans and spices onto shelves and enjoy
All together it cost about $70. I got the idea from Classy Clutter and Instructables