Kegerator
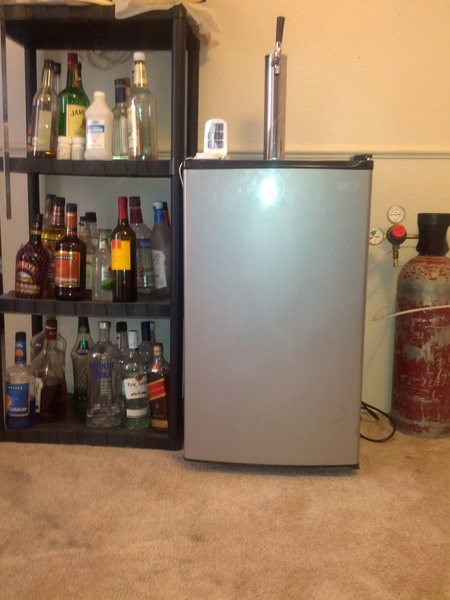 I built this kegerator out of a mini-fridge. The main part of building a kegerator is not hitting the freon lines while drilling holes. On my particular fridge, this wasn't a problem. Since no freon lines are on the top of the fridge, I just drilled a big enough hold to run my line through for the tower. I figured the smaller the hole the better the insulation even though the tower is insulated. I cut a hole in the back for the CO2 line. This was a little more interesting due to freon lines in the back. The back of my fridge has chloroplast, which I cut through with a knife, then I dug through the insulation with my finger until I hit the plastic interior of the fridge. Next, I drilled through the plastic.
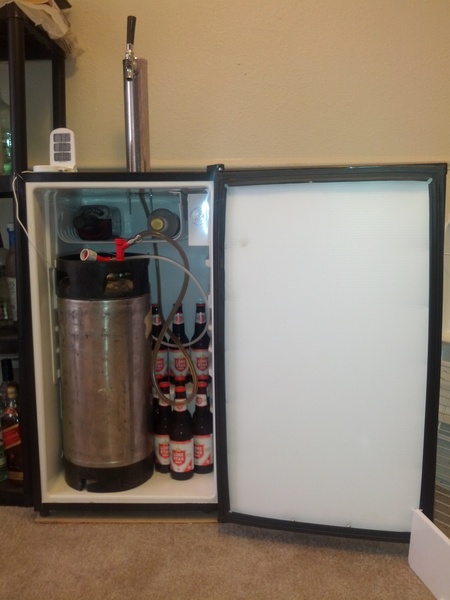 I took the pockets in the front door off to make room for the keg. I didn't like the look of the raw insulation, so I put chloroplast. The chloroplast used was in the sign making section at Lowes. I had to take the door to the freezer off, but I was able to leave the freezer in place because of the pin lock style keg I used. If you are using a ball lock keg and need to bend this, be extremely careful as freon lines run throughout it.
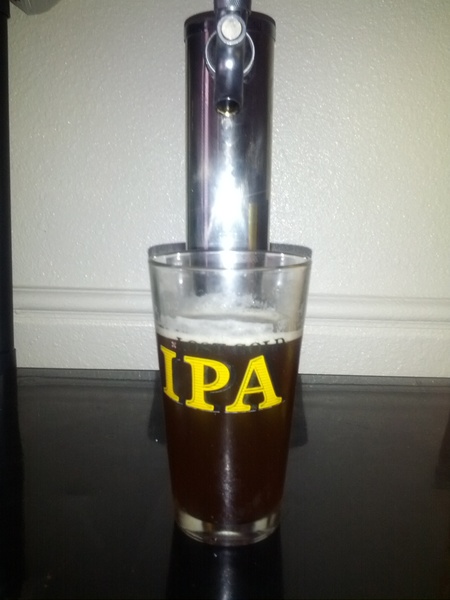 Finally, the best part of the project, the first pour of homebrew out of the kegerator. I will eventually turn my own handle for the tap. The plastic one it came with is horrible and came stripped out. I want a custom handle anyway.